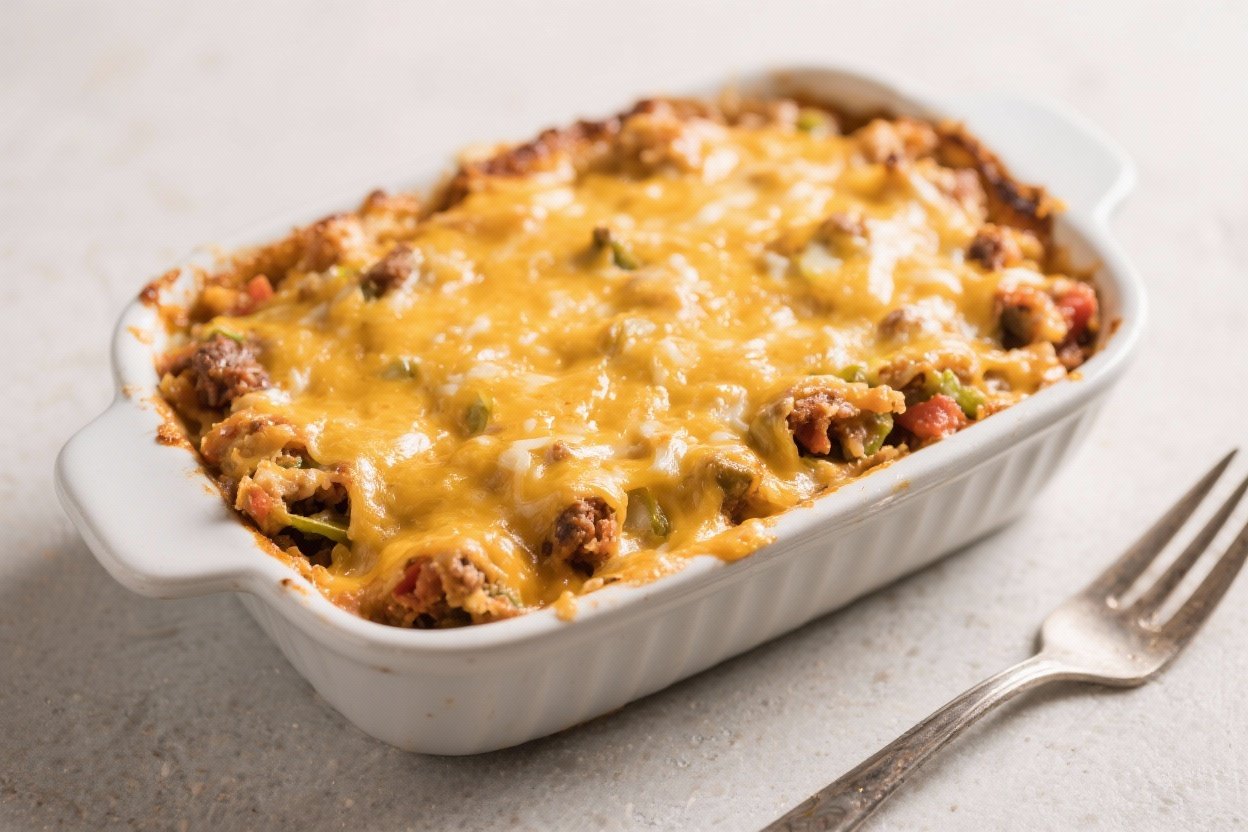
Cheesy Taco Casserole – Comforting, Crowd-Pleasing, and Easy
If you’re craving the flavors of taco night without the mess, this Cheesy Taco Casserole has your back. It layers seasoned meat, hearty beans, tender tortillas, and gooey cheese into one bubbly bake that feeds a crowd. It’s weeknight-friendly, big on flavor, and flexible enough to fit whatever you have in the pantry.
Serve it with fresh toppings, and you’ve got a full meal that feels festive and satisfying.
Cheesy Taco Casserole - Comforting, Crowd-Pleasing, and Easy
Ingredients
Method
- Preheat the oven. Set to 375°F (190°C). Lightly grease a 9x13-inch baking dish.
- Cook the aromatics. Heat oil in a large skillet over medium heat. Add onion and cook 3–4 minutes until softened.Stir in garlic and cook 30 seconds.
- Brown the meat. Add ground beef and cook, breaking it up, until no longer pink. Drain excess fat if needed.
- Season it right. Stir in taco seasoning with a splash of water (about 1/4 cup). Simmer 1–2 minutes to coat the meat evenly.
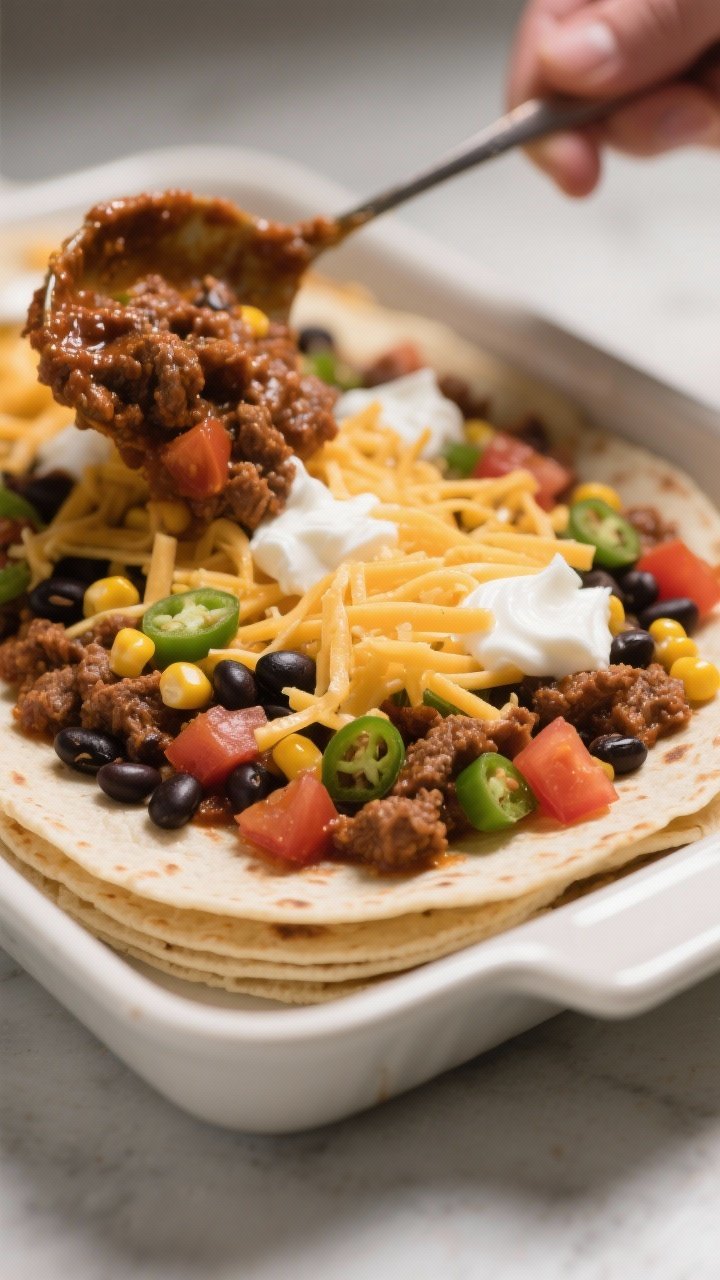
- Add the mix-ins. Fold in black beans, corn, salsa, and diced tomatoes with green chiles (if using).Taste and adjust salt and pepper.
- Prep the tortillas. If using corn tortillas, lightly warm them so they don’t crack. Cut tortillas in halves or quarters to fit the dish in even layers.
- Build the first layer. Place a single layer of tortillas on the bottom of the dish. Spread one-third of the meat mixture over them.Sprinkle a generous handful of cheese.
- Add a creamy touch (optional). Dot or spread a few spoonfuls of sour cream over the cheese for a richer bite.
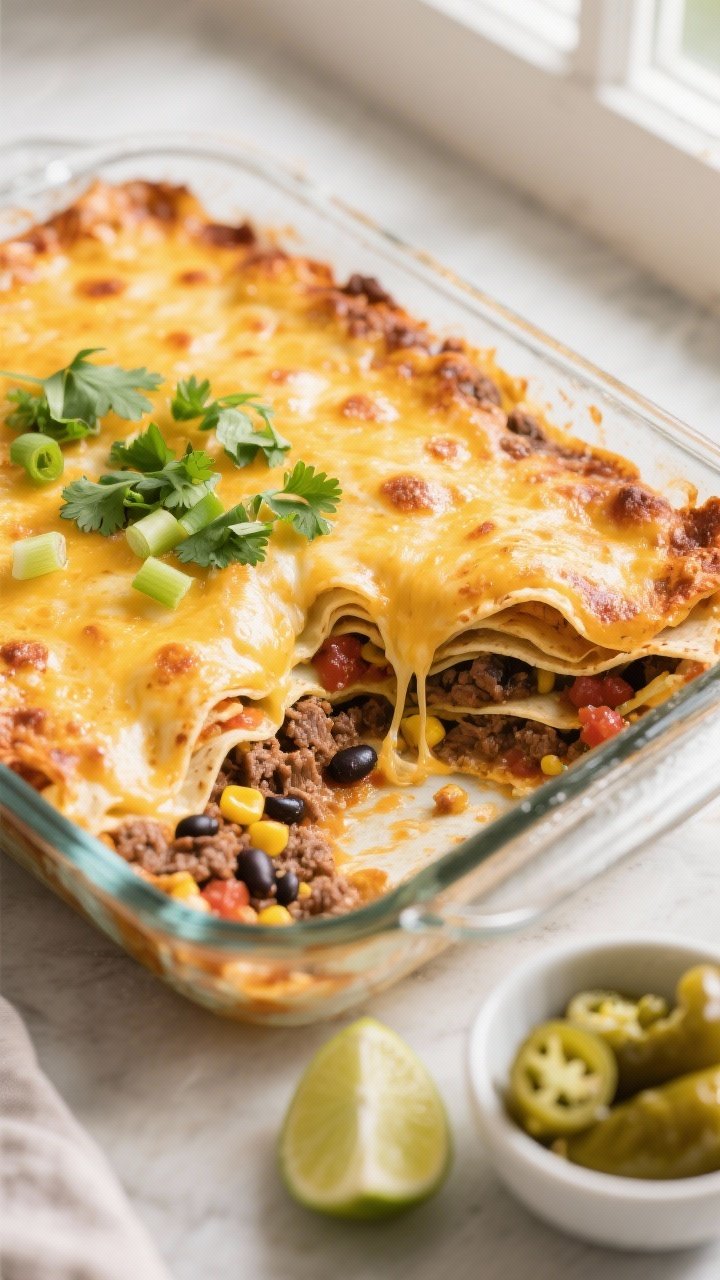
- Repeat the layers. Add another tortilla layer, another third of the meat, more cheese, and optional sour cream. Finish with a final layer of tortillas, the remaining meat, and a thick blanket of cheese.
- Bake. Cover with foil and bake for 15 minutes. Remove foil and bake another 10–12 minutes, until the cheese is melted and bubbling with lightly golden spots.
- Rest and garnish. Let it rest 5–10 minutes for cleaner slices.Top with cilantro, green onions, or your favorite fresh toppings.
- Serve. Spoon onto plates and add lettuce, tomatoes, avocado, sour cream, or a squeeze of lime for brightness.
Why This Recipe Works
This casserole captures everything people love about tacos—bold seasoning, melty cheese, and satisfying texture—without the assembly line. By layering tortillas between saucy meat and cheese, it bakes into a lasagna-style dish that slices neatly. The beans and corn add body and fiber, while salsa keeps everything juicy.
A final blast in the oven melts the cheese to golden goodness, sealing in flavor and making every slice irresistible.
Ingredients
- 1 pound ground beef (or ground turkey)
- 1 small onion, diced
- 2 cloves garlic, minced
- 1 packet taco seasoning (or 2–3 tablespoons homemade)
- 1 can (14–15 oz) black beans, drained and rinsed
- 1 cup corn kernels (frozen or canned, drained)
- 1 cup salsa (mild, medium, or hot)
- 1 can (10 oz) diced tomatoes with green chiles, drained (optional for extra kick)
- 8–10 small flour or corn tortillas (6-inch size)
- 2–3 cups shredded cheese (cheddar, Monterey Jack, or a Mexican blend)
- 1/2 cup sour cream (optional, for a creamy layer)
- 2 tablespoons olive oil or neutral oil
- Salt and pepper, to taste
- Optional toppings: chopped cilantro, sliced green onions, shredded lettuce, diced tomatoes, avocado, pickled jalapeños, lime wedges
How to Make It
- Preheat the oven. Set to 375°F (190°C). Lightly grease a 9×13-inch baking dish.
- Cook the aromatics. Heat oil in a large skillet over medium heat. Add onion and cook 3–4 minutes until softened.Stir in garlic and cook 30 seconds.
- Brown the meat. Add ground beef and cook, breaking it up, until no longer pink. Drain excess fat if needed.
- Season it right. Stir in taco seasoning with a splash of water (about 1/4 cup). Simmer 1–2 minutes to coat the meat evenly.
- Add the mix-ins. Fold in black beans, corn, salsa, and diced tomatoes with green chiles (if using).Taste and adjust salt and pepper.
- Prep the tortillas. If using corn tortillas, lightly warm them so they don’t crack. Cut tortillas in halves or quarters to fit the dish in even layers.
- Build the first layer. Place a single layer of tortillas on the bottom of the dish. Spread one-third of the meat mixture over them.Sprinkle a generous handful of cheese.
- Add a creamy touch (optional). Dot or spread a few spoonfuls of sour cream over the cheese for a richer bite.
- Repeat the layers. Add another tortilla layer, another third of the meat, more cheese, and optional sour cream. Finish with a final layer of tortillas, the remaining meat, and a thick blanket of cheese.
- Bake. Cover with foil and bake for 15 minutes. Remove foil and bake another 10–12 minutes, until the cheese is melted and bubbling with lightly golden spots.
- Rest and garnish. Let it rest 5–10 minutes for cleaner slices.Top with cilantro, green onions, or your favorite fresh toppings.
- Serve. Spoon onto plates and add lettuce, tomatoes, avocado, sour cream, or a squeeze of lime for brightness.
Keeping It Fresh
Leftovers keep well and make a great next-day lunch. Store cooled casserole in an airtight container in the fridge for up to 4 days. Reheat in the oven at 325°F until warmed through, or in the microwave in short bursts to protect the texture.
To freeze, wrap tightly in foil and plastic wrap before baking or after it has cooled.
Freeze up to 3 months. Thaw overnight in the fridge, then bake covered at 350°F until hot in the center. If baking from frozen, add extra time and keep covered to prevent drying out.
Benefits of This Recipe
- Weeknight friendly: Uses pantry staples and comes together fast.
- Balanced and filling: Protein, fiber-rich beans, and corn make it satisfying.
- Customizable: Adjust spice, cheese, and tortillas to suit your taste or dietary needs.
- Great for crowds: Easy to scale up or down and ideal for potlucks.
- Meal-prep ready: Holds up well in the fridge or freezer.
What Not to Do
- Don’t skip draining. Excess fat or liquid makes the casserole soggy.
- Don’t over-sauce it. Too much salsa thins the layers and prevents clean slices.
- Don’t pile on cold toppings before baking. Fresh items like lettuce and tomatoes belong on after baking, so they stay crisp.
- Don’t forget to rest. Cutting immediately leads to messy slices and lost structure.
- Don’t under-season.</-strong> Taste the filling and adjust salt, pepper, and spice before layering.
Variations You Can Try
- Chicken or turkey: Swap the beef for shredded rotisserie chicken or ground turkey.Add an extra spoon of oil if using very lean meat.
- Vegetarian: Replace meat with extra beans (pinto or kidney), sautéed bell peppers, and zucchini. A little smoked paprika adds depth.
- Low-carb: Use low-carb tortillas or layer thin slices of roasted zucchini or eggplant in place of tortillas.
- Queso layer: Replace sour cream with a drizzle of warmed queso for extra cheesiness.
- Spicy: Add chopped jalapeños to the filling, use hot salsa, and finish with pepper jack cheese.
- Crunchy top: Scatter crushed tortilla chips over the casserole for the last 5 minutes of baking.
- Street-corn twist: Stir in charred corn, a squeeze of lime, and a pinch of chili powder; top with cotija and cilantro after baking.
FAQ
Can I make this ahead?
Yes. Assemble the casserole up to a day in advance, cover, and refrigerate.
Add 10–15 minutes to the covered baking time since it will be cold going into the oven.
Which tortillas are best—corn or flour?
Both work. Corn brings more flavor and holds texture well, while flour gives a softer, lasagna-like feel. If using corn, warm them briefly so they don’t crack while layering.
How do I prevent a soggy casserole?
Drain beans and tomatoes well, simmer off excess liquid in the filling, and avoid adding too much salsa.
Resting after baking also helps the layers set.
What cheese melts best?
A blend of cheddar and Monterey Jack gives a great melt and flavor. Pepper jack adds heat, while a Mexican blend is a convenient all-in-one option.
Can I make it dairy-free?
Yes. Use a dairy-free shredded cheese that melts well and skip the sour cream or use a plant-based alternative.
The casserole still bakes up nicely.
Is this freezer-friendly?
Absolutely. Freeze before baking or after it cools. Wrap tightly, label, and bake from thawed for best texture.
How do I make it lighter?
Use lean turkey, reduce the cheese slightly, and load up on vegetables.
Serving with crisp lettuce, tomatoes, and avocado adds freshness without heaviness.
What sides go well with it?
Keep it simple with a green salad, cilantro-lime rice, or roasted vegetables. Chips and guacamole are always welcome at the table.
In Conclusion
Cheesy Taco Casserole is the kind of meal that makes Tuesday feel like a party and Friday feel easy. It’s hearty, flexible, and packed with familiar flavors that everyone loves.
With a quick prep and a bubbly finish, it turns pantry staples into something special. Keep this one in your rotation—you’ll come back to it again and again.