Best Banana Pudding Recipe (Crowd-Pleaser) – Creamy, Classic, and Easy
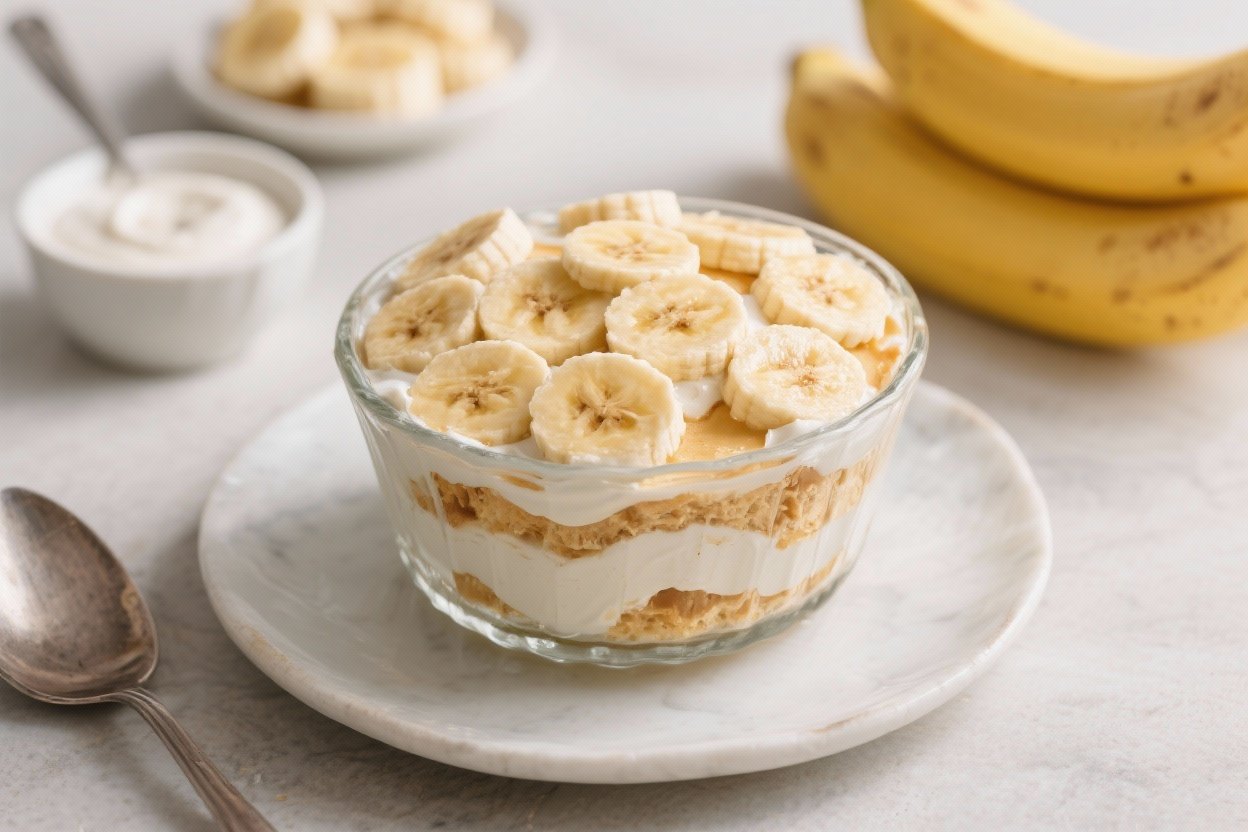
This banana pudding is the kind of dessert that gets people hovering around the table for seconds. It’s creamy, layered, and perfectly balanced—not too sweet, not too heavy. You don’t need fancy tools or complicated steps, just a few fresh ingredients and a little patience while it chills.
It’s perfect for parties, potlucks, holidays, or a cozy weekend treat. And yes, it tastes even better the next day.
Best Banana Pudding Recipe (Crowd-Pleaser) - Creamy, Classic, and Easy
Ingredients
Method
- Make the pudding base: In a large bowl, whisk cold milk and instant pudding mix for 2 minutes until thickened. Let it sit for 3–4 minutes to fully set.
- Blend the cream cheese: In a separate bowl, beat the softened cream cheese with sweetened condensed milk, vanilla, and a pinch of salt until completely smooth and silky. No lumps.
- Combine the mixtures: Fold the cream cheese mixture into the pudding until smooth.Take your time to avoid streaks.
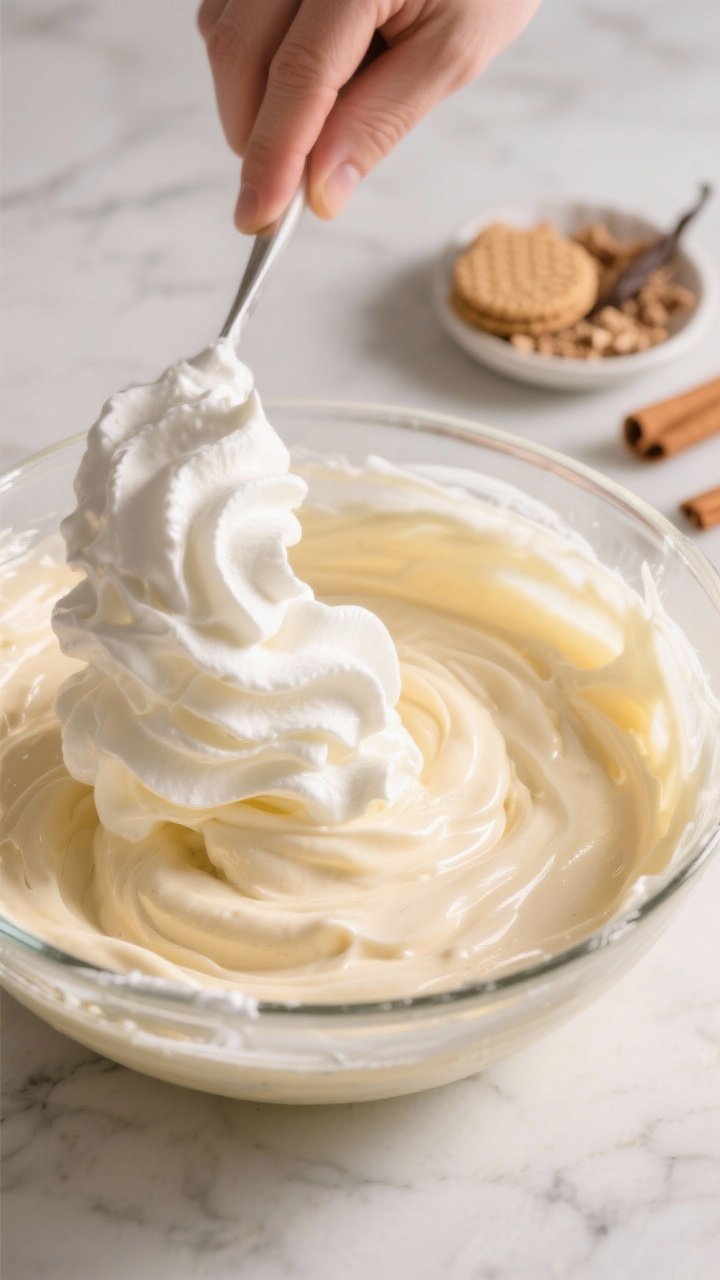
- Whip the cream: Beat the heavy cream to stiff peaks (or use whipped topping). Gently fold it into the pudding mixture until airy and uniform.
- Slice the bananas: Cut bananas into 1/4-inch slices right before assembling to limit browning.
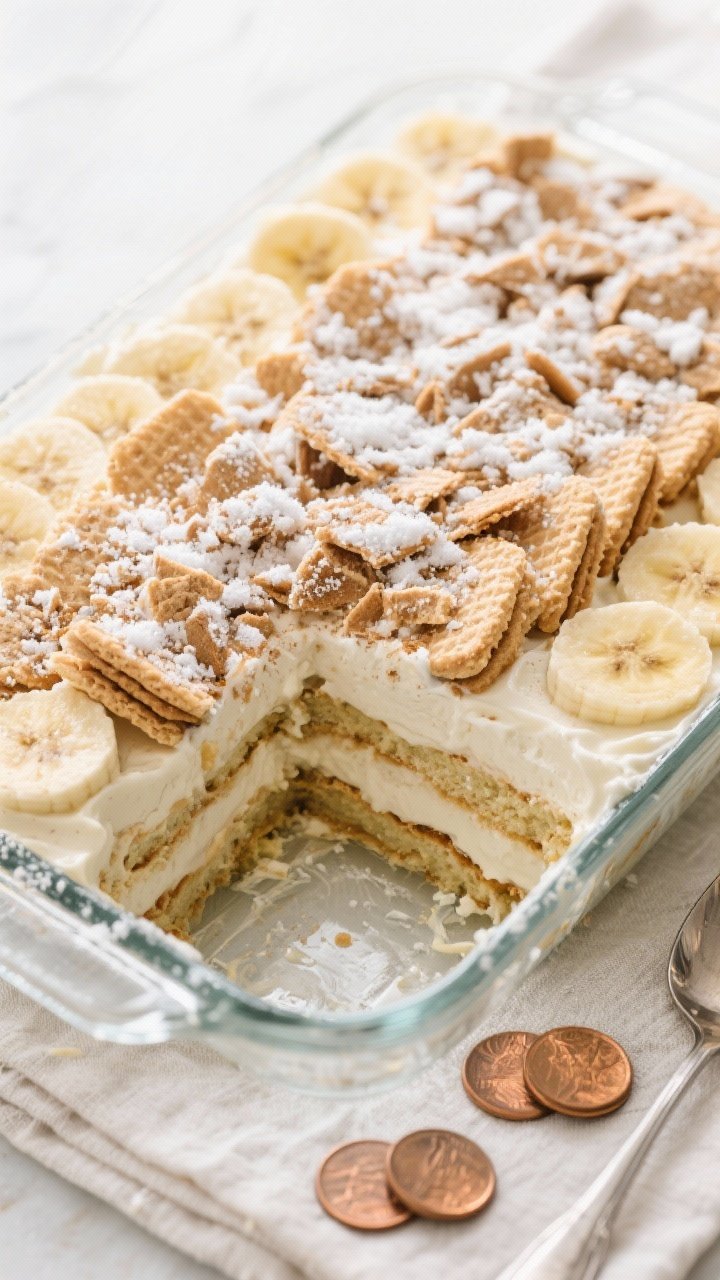
- Layer the dessert: In a 9x9 or 9x13 dish, add a layer of wafers, a layer of banana slices, then a layer of pudding. Repeat 2–3 times, finishing with pudding on top.
- Chill to set: Cover and refrigerate for at least 4 hours, ideally overnight.This softens the wafers and melds flavors.
- Finish and serve: Just before serving, top with crushed wafers and a light dusting of cinnamon (optional). Spoon into bowls or slice neatly if fully set.
What Makes This Recipe So Good
- Balanced sweetness: The pudding is rich and creamy without being overly sugary. The bananas and vanilla wafers add just the right amount of natural sweetness.
- Make-ahead friendly: It sets beautifully in the fridge, which means less stress on the day you serve it.
- Soft yet structured layers: The wafers absorb just enough moisture to become tender, while the whipped topping stays light and fluffy.
- Simple, reliable ingredients: No egg tempering or fussy custards.This recipe uses a smooth pudding base that works every time.
- Scales for a crowd: Double it in a 9×13 dish for gatherings, or make it in small jars for individual servings.
Ingredients
- 2 cups cold whole milk
- 1 (5.1 oz) box instant vanilla pudding mix (family-size; not cook-and-serve)
- 1 (14 oz) can sweetened condensed milk
- 8 oz cream cheese, softened
- 1 teaspoon pure vanilla extract
- 2 cups heavy whipping cream (or 12–16 oz whipped topping, thawed)
- 5–6 ripe bananas (yellow with a few brown specks; no green)
- 1 (11–12 oz) box vanilla wafers
- Pinch of fine sea salt
- Optional: ground cinnamon or crushed wafers for topping
Instructions
- Make the pudding base: In a large bowl, whisk cold milk and instant pudding mix for 2 minutes until thickened. Let it sit for 3–4 minutes to fully set.
- Blend the cream cheese: In a separate bowl, beat the softened cream cheese with sweetened condensed milk, vanilla, and a pinch of salt until completely smooth and silky. No lumps.
- Combine the mixtures: Fold the cream cheese mixture into the pudding until smooth.Take your time to avoid streaks.
- Whip the cream: Beat the heavy cream to stiff peaks (or use whipped topping). Gently fold it into the pudding mixture until airy and uniform.
- Slice the bananas: Cut bananas into 1/4-inch slices right before assembling to limit browning.
- Layer the dessert: In a 9×9 or 9×13 dish, add a layer of wafers, a layer of banana slices, then a layer of pudding. Repeat 2–3 times, finishing with pudding on top.
- Chill to set: Cover and refrigerate for at least 4 hours, ideally overnight.This softens the wafers and melds flavors.
- Finish and serve: Just before serving, top with crushed wafers and a light dusting of cinnamon (optional). Spoon into bowls or slice neatly if fully set.
Keeping It Fresh
- Refrigeration: Keep covered in the fridge for up to 3 days. The flavor deepens, but the wafers gradually soften more each day.
- Banana browning: Assemble right before chilling, and avoid slicing the bananas too far in advance.A light brush of lemon juice on the banana slices helps, but use sparingly to avoid a tangy flavor.
- No freezing: This dessert doesn’t freeze well. The texture becomes icy and the bananas turn mushy.
- Make-ahead tip: You can make the pudding mixture 24 hours ahead and assemble the layers the morning you serve it.
Why This is Good for You
- Bananas offer potassium and fiber, which support heart health and digestion. They also bring natural sweetness, so you don’t need to add much extra sugar.
- Calcium from dairy supports bone health.If you use reduced-fat milk or a lighter whipped topping, you can lower the overall richness.
- Portion-friendly: It’s satisfying in small servings thanks to the creamy texture, which helps curb overindulgence.
Of course, this is a dessert, so it’s a treat—not an everyday staple. But it’s a better choice than many heavy cakes or frostings because it delivers flavor and comfort without a cloying sugar hit.
Pitfalls to Watch Out For
- Using cook-and-serve pudding by mistake: You need instant pudding. The texture won’t set properly otherwise.
- Under-whipping the cream: Soft peaks lead to runny layers.Beat to stiff peaks for a stable, fluffy finish.
- Overripe or underripe bananas: Overripe can turn mushy and overly brown; underripe can be firm and bland. Aim for yellow with freckles.
- Skipping the chill time: The magic happens in the fridge. Rushing it means crunchy wafers and loose pudding.
- Lumpy base: If the cream cheese isn’t fully softened and beaten smooth, you’ll get lumps.Let it warm slightly and whip well before combining.
Alternatives
- Lighter version: Use 2% milk, reduced-fat cream cheese, and a light whipped topping. The texture will still be creamy, just less rich.
- From-scratch custard: Swap the instant pudding for a cooked vanilla custard if you prefer. Temper egg yolks with warm milk, cook to thicken, then cool fully before layering.
- Cookies swap: Try shortbread cookies, butter cookies, or graham crackers for a different twist.Wafers remain the classic, but these are fun alternatives.
- Flavor boost: Add a teaspoon of banana extract to the pudding for a stronger banana flavor, or swirl in caramel for a banoffee-style vibe.
- Dairy-free option: Use dairy-free instant pudding (or cornstarch-thickened almond milk custard), coconut whipped cream, and a plant-based cream cheese. Choose vegan cookies.
- Individual servings: Layer in mason jars or cups for parties. Easy to serve, easy to store.
FAQ
Can I make this a day ahead?
Yes, and it actually tastes better.
The flavors blend and the wafers soften to a cake-like texture. Just add any decorative toppings right before serving.
How ripe should the bananas be?
Choose bananas that are fully yellow with a few brown specks. They should be sweet and soft but still hold their shape when sliced.
What if I only have regular (3.4 oz) instant pudding mix?
Use one 3.4 oz box plus reduce the milk to about 1 1/2 cups, or use two 3.4 oz boxes with 3 cups milk if you’re making a larger batch.
Adjust sweetness to taste since the condensed milk is sweet.
Can I skip the cream cheese?
You can, but you’ll miss some tang and body. If skipping, increase whipped cream slightly and add a pinch more salt to keep the flavor balanced.
How do I keep the bananas from browning?
Slice them right before layering. If needed, lightly brush with lemon juice or pineapple juice.
Go easy to avoid changing the flavor.
What size dish works best?
A 9×13 dish is great for a crowd and allows two to three layers. A 9×9 works for smaller groups. For clean slices, use a deeper dish and chill overnight.
Can I use cooked pudding instead of instant?
You can, but let it cool completely before folding in whipped cream.
Warm pudding will deflate the cream and loosen the texture.
How long does it need to chill?
At least 4 hours, but 8–12 hours is ideal for the best texture and cleanest slices.
In Conclusion
This banana pudding is easy to make, uses simple ingredients, and never fails to impress. The layers are creamy and comforting, the bananas shine, and the wafers soften into a dreamy, cake-like bite. Make it ahead, keep it chilled, and watch it disappear.
If you’re feeding a crowd, double the recipe—you’ll be glad you did.