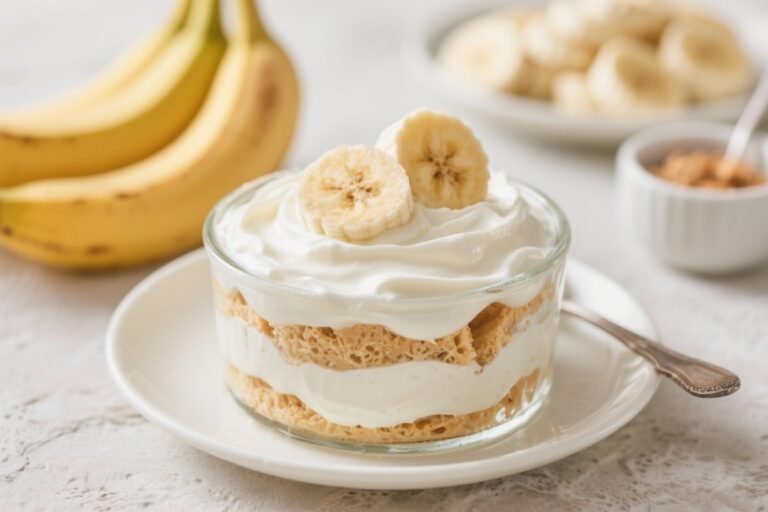
Banana Pudding Without Bananas – Creamy, Comforting, and Totally Banana-Free
If you love the flavor of banana pudding but can’t or don’t want to use real bananas, you’re in the right place. This version gives you all the creamy, nostalgic comfort of the classic dessert—without a single slice of fruit. It’s smooth, rich, and layered with vanilla wafers and whipped cream, just like the original.
The secret is a simple, smart swap that mimics banana flavor and texture without the actual bananas. It’s great for anyone with allergies, taste preferences, or simply no bananas on hand.
Banana Pudding Without Bananas - Creamy, Comforting, and Totally Banana-Free
Ingredients
Method
- Whisk dry ingredients: In a medium saucepan (off heat), whisk sugar, cornstarch, and salt until combined. This prevents clumps later.
- Add dairy and yolks: Slowly whisk in the milk and heavy cream until smooth.Whisk in the egg yolks. The mixture should be fully combined with no streaks.
- Cook the custard: Place the pan over medium heat. Whisk constantly until the mixture thickens and gently bubbles, 6–8 minutes.Lower the heat if it starts to stick or simmer too fast.
- Finish with flavor: Remove from heat. Whisk in butter, vanilla extract, and 1 teaspoon banana extract to start. Taste and add more banana extract a few drops at a time.You want a warm, natural banana flavor—not candy-like.
- Optional flavor boost: For a stronger banana note, whisk in 2–3 tablespoons instant banana pudding mix while the custard is still hot. This is optional but helpful if you like a more pronounced flavor without bananas.
- Cool slightly: Transfer the custard to a bowl. Press plastic wrap directly onto the surface to prevent a skin.Let it cool to lukewarm, about 20–30 minutes.
- Make the whipped cream: In a chilled bowl, beat the cold heavy whipping cream and powdered sugar to medium peaks. It should be soft but hold shape.
- Fold and lighten: Stir the custard to loosen it. Fold in half the whipped cream to make it lighter and silkier.Reserve the rest for topping.
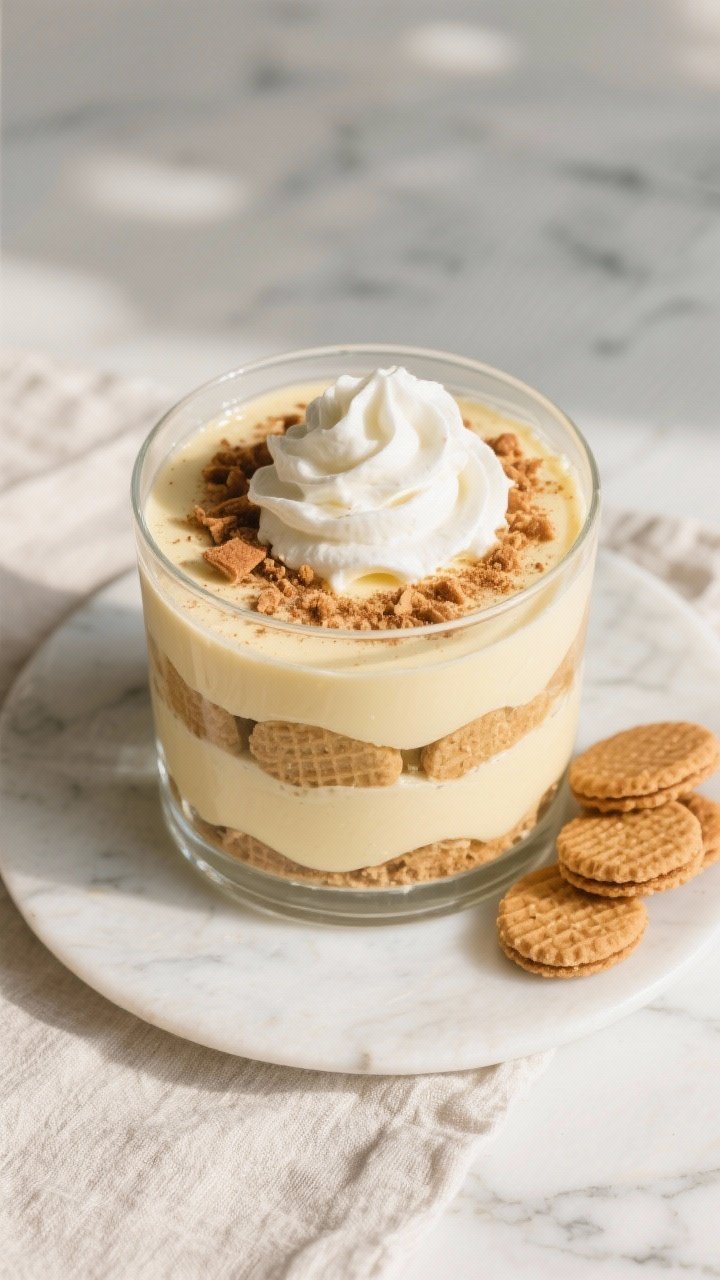
- Layer the dessert: In a 2–3 quart dish or trifle bowl, add a layer of vanilla wafers. Spoon over a third of the custard. Repeat layers—wafers, custard—until you’ve used it all, ending with custard.
- Top and garnish: Spread the remaining whipped cream on top.Add crushed wafers or a pinch of cinnamon if you like.
- Chill to set: Cover and refrigerate for at least 4 hours, preferably overnight. The wafers soften and the flavors meld as it chills.
- Serve: Scoop or slice, depending on how long it’s chilled. The texture should be creamy with tender, cake-like wafers.
What Makes This Recipe So Good

- No bananas, same cozy vibe: It tastes like your favorite banana pudding thanks to a clever flavor trick—banana extract and pudding base—without any real bananas.
- Silky and stable: The custard is thick and creamy, setting up beautifully for clean slices or soft scoops.
- Make-ahead friendly: It gets better as it chills, which makes it perfect for parties and potlucks.
- Easy pantry ingredients: No special equipment or hard-to-find items needed.
- Customizable: Adjust sweetness, swap cookies, or make it dairy-free or gluten-free with simple changes.
Ingredients
- 2 cups whole milk (or unsweetened almond milk for dairy-free)
- 1 cup heavy cream (or full-fat coconut cream for dairy-free)
- 1/2 cup granulated sugar
- 3 tablespoons cornstarch
- 1/4 teaspoon fine sea salt
- 4 large egg yolks
- 2 tablespoons unsalted butter (or dairy-free butter), softened
- 1 teaspoon vanilla extract
- 1 to 1 1/2 teaspoons banana extract (adjust to taste)
- 1 box vanilla wafers (use gluten-free if needed)
- 1 1/2 cups cold heavy whipping cream
- 3 tablespoons powdered sugar
- Optional: 1 packet instant banana pudding mix for extra flavor (use as a flavor booster only; see notes in instructions)
- Optional garnish: crushed wafers or a light dusting of cinnamon
Step-by-Step Instructions
- Whisk dry ingredients: In a medium saucepan (off heat), whisk sugar, cornstarch, and salt until combined. This prevents clumps later.
- Add dairy and yolks: Slowly whisk in the milk and heavy cream until smooth.Whisk in the egg yolks. The mixture should be fully combined with no streaks.
- Cook the custard: Place the pan over medium heat. Whisk constantly until the mixture thickens and gently bubbles, 6–8 minutes.Lower the heat if it starts to stick or simmer too fast.
- Finish with flavor: Remove from heat. Whisk in butter, vanilla extract, and 1 teaspoon banana extract to start. Taste and add more banana extract a few drops at a time.You want a warm, natural banana flavor—not candy-like.
- Optional flavor boost: For a stronger banana note, whisk in 2–3 tablespoons instant banana pudding mix while the custard is still hot. This is optional but helpful if you like a more pronounced flavor without bananas.
- Cool slightly: Transfer the custard to a bowl. Press plastic wrap directly onto the surface to prevent a skin.Let it cool to lukewarm, about 20–30 minutes.
- Make the whipped cream: In a chilled bowl, beat the cold heavy whipping cream and powdered sugar to medium peaks. It should be soft but hold shape.
- Fold and lighten: Stir the custard to loosen it. Fold in half the whipped cream to make it lighter and silkier.Reserve the rest for topping.
- Layer the dessert: In a 2–3 quart dish or trifle bowl, add a layer of vanilla wafers. Spoon over a third of the custard. Repeat layers—wafers, custard—until you’ve used it all, ending with custard.
- Top and garnish: Spread the remaining whipped cream on top.Add crushed wafers or a pinch of cinnamon if you like.
- Chill to set: Cover and refrigerate for at least 4 hours, preferably overnight. The wafers soften and the flavors meld as it chills.
- Serve: Scoop or slice, depending on how long it’s chilled. The texture should be creamy with tender, cake-like wafers.
Storage Instructions
- Refrigerator: Cover tightly and store for up to 3 days.The wafers continue to soften over time.
- No freezing: Freezing changes the texture of the custard and whipped cream, so it’s not recommended.
- Make-ahead: Assemble the day before serving for best structure and flavor.
Why This is Good for You
- Banana-free for allergies: Perfect for those with banana allergies or sensitivities who still want the classic dessert experience.
- Customizable sweetness: You control the sugar and can reduce it slightly without hurting the texture.
- Protein from eggs and dairy: The custard includes egg yolks and milk, adding richness and some protein.
- Flexible diet options: Easy swaps make it gluten-free or dairy-free while keeping the same cozy vibe.
Common Mistakes to Avoid
- Overdoing banana extract: Too much tastes artificial. Start small, taste, and adjust by drops.
- Not whisking constantly: The custard can scorch or turn lumpy. Keep it moving and control the heat.
- Skipping the chill time: It needs several hours to set and for wafers to soften.Rushing leads to runny layers.
- Adding whipped cream too early: If the custard is hot, it will melt the cream. Cool it to lukewarm first.
- Using thin cookies: Super-thin cookies can get mushy fast. Standard vanilla wafers hold up best.
Variations You Can Try
- Dairy-free: Use almond milk or oat milk for the custard, coconut cream in place of heavy cream, and dairy-free butter.Choose dairy-free cookies.
- Gluten-free: Swap in gluten-free vanilla wafers or shortbread. Check extracts and pudding mix for gluten-free labeling.
- Chocolate twist: Add 2 tablespoons cocoa powder to the custard with the dry ingredients and reduce sugar by 1 tablespoon.
- Caramel layer: Drizzle a thin layer of salted caramel between the wafer and custard layers for extra depth.
- Cookie swap: Try Biscoff, shortbread, or graham crackers for different flavors and textures.
- Stovetop-only shortcut: Skip folding in whipped cream and just top with it. The custard will be richer and denser.
- Lightened version: Use 2% milk, reduce sugar by 1–2 tablespoons, and use less whipped cream on top.
FAQ
How do I get banana flavor without real bananas?
Use banana extract for the main flavor.
Start with 1 teaspoon and add more gradually. For an extra boost, whisk in a couple tablespoons of instant banana pudding mix while the custard is hot.
Can I make this without eggs?
Yes. Increase cornstarch to 4 tablespoons, omit the yolks, and follow the same steps.
The texture will be a bit lighter and less rich but still creamy.
What if I don’t have banana extract?
Use vanilla extract and a small amount of caramel or butterscotch extract to mimic a warm, fruity sweetness. It won’t taste exactly like banana pudding, but it will still be delicious and comforting.
Why did my custard turn lumpy?
This usually happens from high heat or not whisking enough. Strain the hot custard through a fine-mesh sieve into a bowl, then proceed.
It will smooth out.
How long should it chill?
At least 4 hours, but overnight is best. The layers firm up and the wafers soften just right after a long chill.
Can I use boxed pudding instead?
Yes. Prepare instant vanilla pudding as directed with cold milk, then fold in banana extract to taste.
Layer as instructed. It’s quicker, though a homemade custard tastes richer.
Will oat milk or almond milk work?
Yes, but choose unsweetened and unflavored varieties. Oat milk gives a creamier texture than almond milk.
Add 1 extra teaspoon cornstarch if using very thin plant milks.
Final Thoughts
This Banana Pudding Without Bananas brings the familiar comfort of the classic dessert to anyone avoiding bananas, or just working with what’s in the pantry. The custard is smooth, the wafers soften into that perfect cake-like bite, and the gentle banana flavor feels warm and nostalgic. It’s simple to make, easy to customize, and dependable for gatherings.
Make it a day ahead, keep it chilled, and enjoy a dessert that tastes like home—without the bananas.