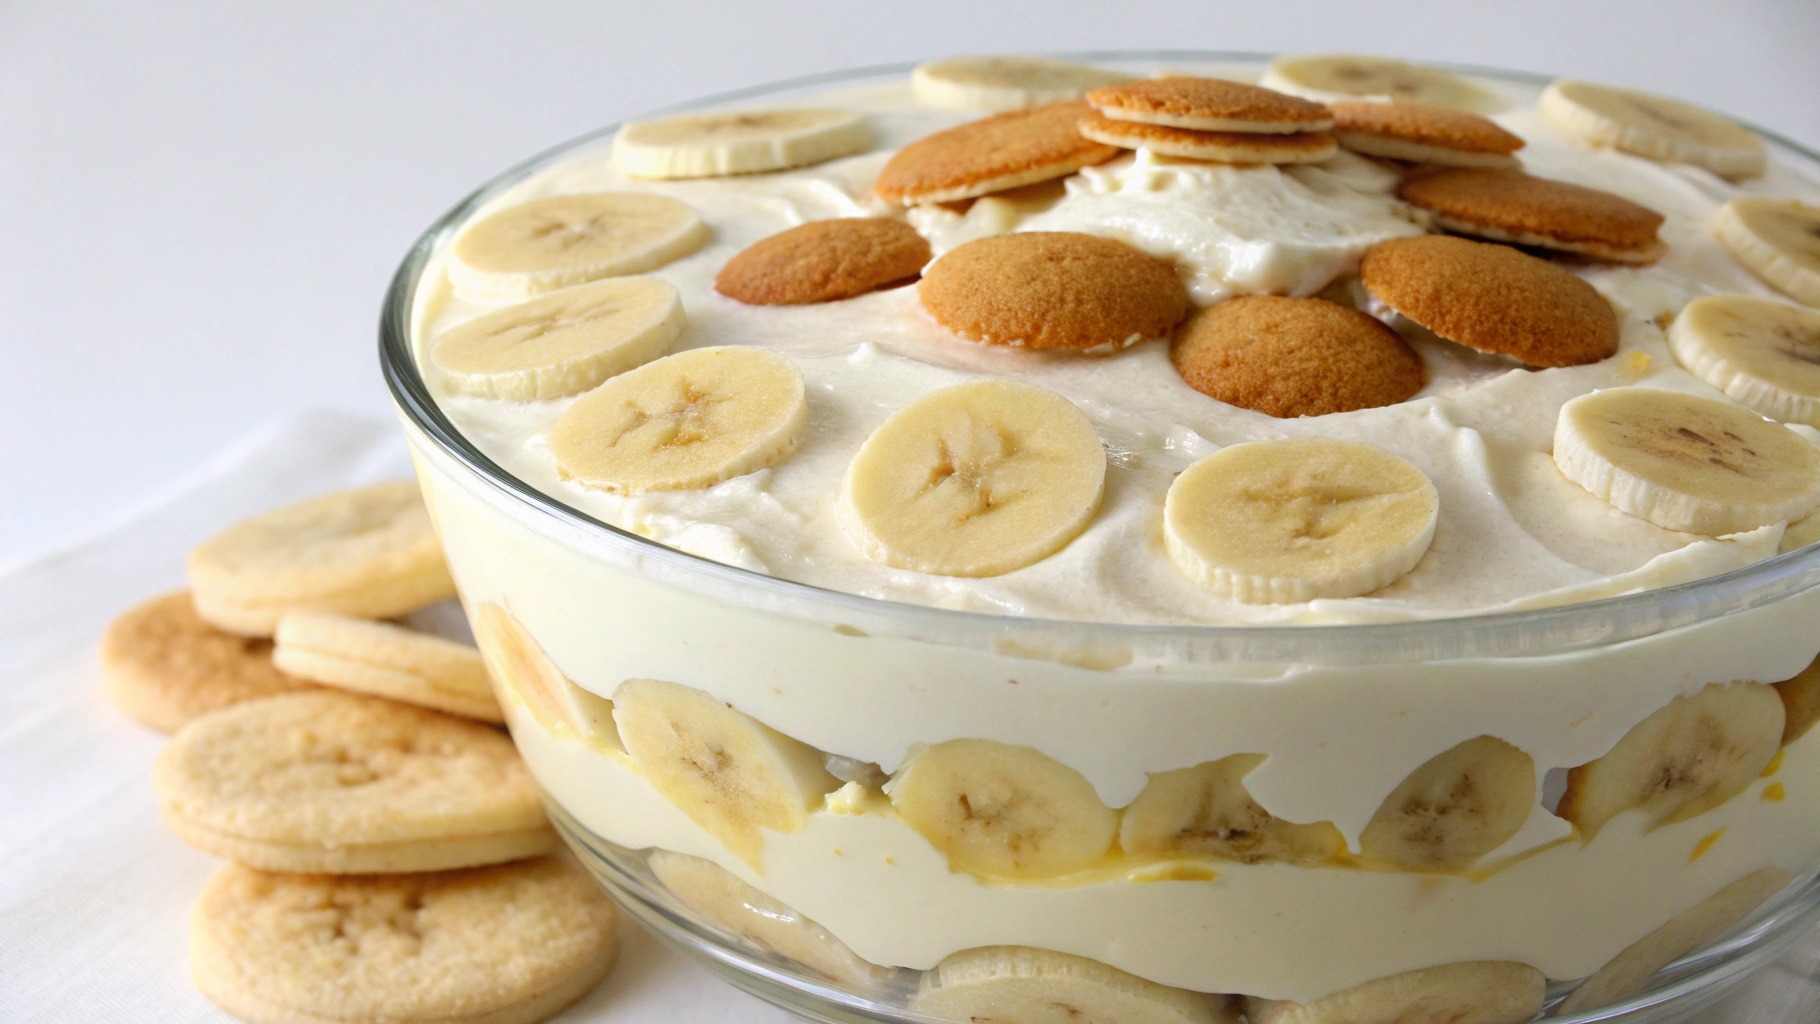
No-Bake Banana Pudding with Vanilla Wafers: The Dessert Everyone Fights For
You know that dessert people “save room” for? This is that dessert.
It’s creamy, crunchy, nostalgic, and so easy it feels illegal. No stove, no oven, no stress—just layer, chill, and watch it disappear.
If your family’s got opinions, this recipe shuts them down with one bite. Warning: leftovers are rare and highly protected.
Why Everyone Loves This Recipe
It’s a crowd-pleaser with minimal effort.
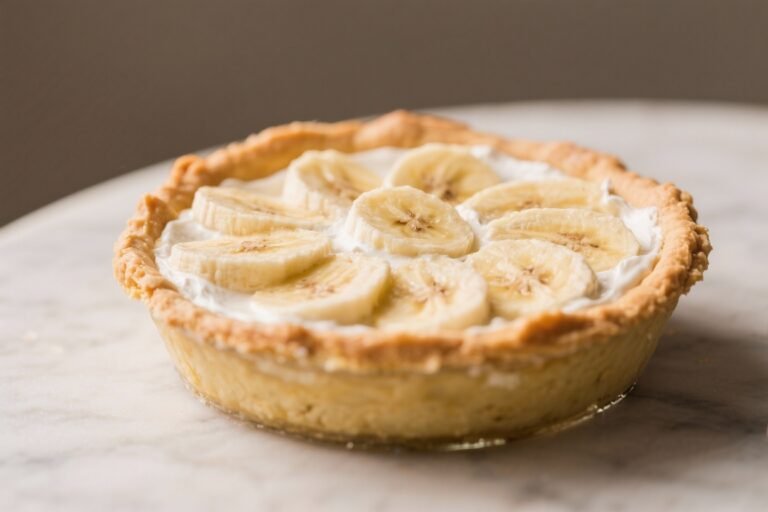
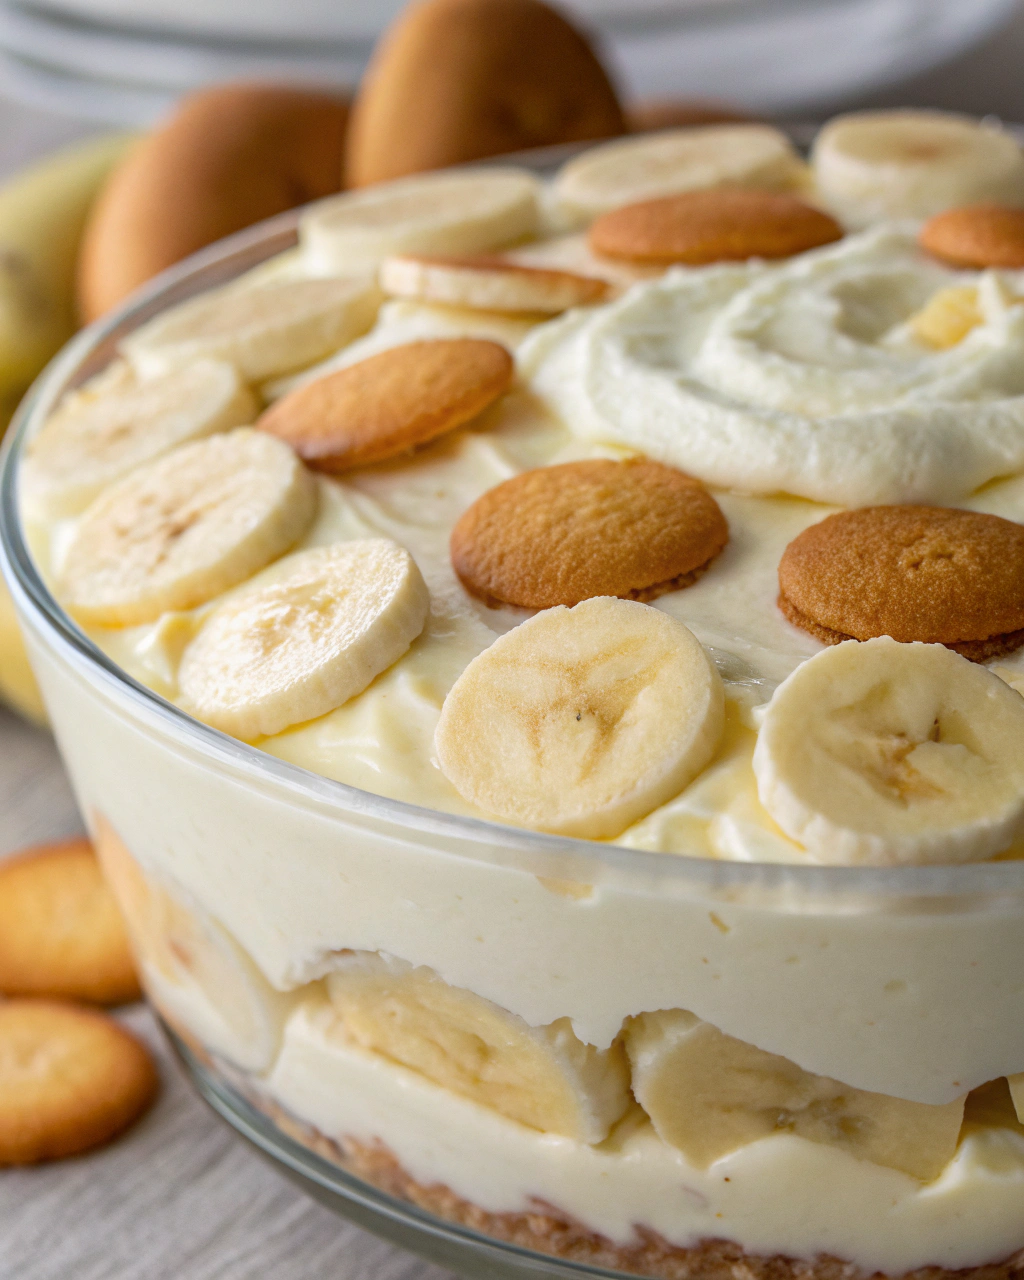
You get the comfort of old-school banana pudding with a silky, modern twist. The vanilla wafers soften into a cake-like layer, the pudding is luxe and fluffy, and the bananas bring that fresh sweetness.
It’s cheap, fast, and zero culinary ego required—just results.

No-Bake Banana Pudding with Vanilla Wafers: The Dessert Everyone Fights For
Course: Desserts12
servings20
minutes3
hours320
kcalIngredients
2 cups cold whole milk (or 2% for lighter)
1 (5.1 oz) box instant vanilla pudding mix (family size) or two 3.4 oz boxes
1 (14 oz) can sweetened condensed milk
1 teaspoon pure vanilla extract
8 oz cream cheese, softened
2 cups cold heavy cream (or 8–12 oz whipped topping, thawed)
1 (11–12 oz) box vanilla wafers
4–5 ripe bananas, sliced
Optional garnish: crushed wafers, sliced banana, cinnamon, or a drizzle of caramel
Pinch of kosher salt (balances sweetness, optional)
Directions
- Make the pudding base: In a large bowl, whisk cold milk and instant pudding for 2 minutes until thick. Chill for 5 minutes to set.
- Sweeten and smooth: Beat cream cheese in a separate bowl until silky. Add sweetened condensed milk and vanilla; beat until smooth. Fold in the set pudding until fully combined.
- Whip the cream: In a chilled bowl, whip heavy cream to medium-stiff peaks. Gently fold into the pudding mixture. Add a pinch of salt if your sweet tooth isn’t on 100.
- Layer 1 – wafers: In a 9×13–inch dish, create a single layer of vanilla wafers. No need for perfection—gaps will soften and fill.
- Layer 2 – bananas: Add a snug layer of sliced bananas over the wafers.
- Layer 3 – pudding: Spread half the pudding mixture over the bananas. Smooth it out.
- Repeat: Another layer of wafers, another layer of bananas, then the remaining pudding mixture on top.
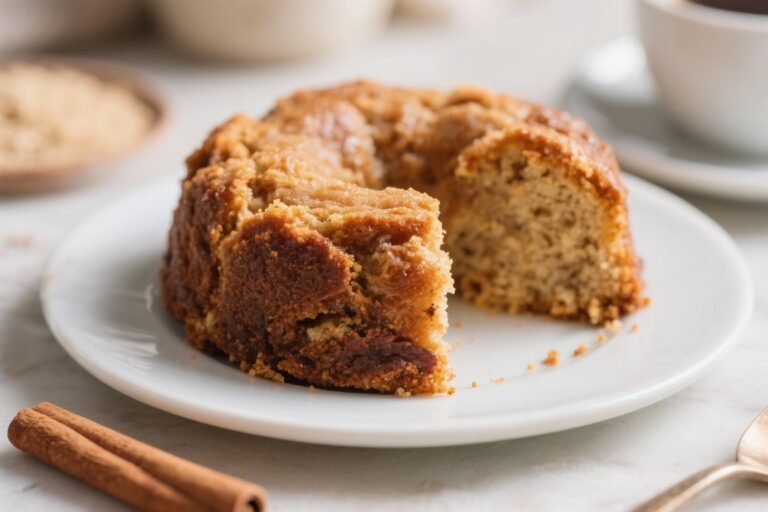
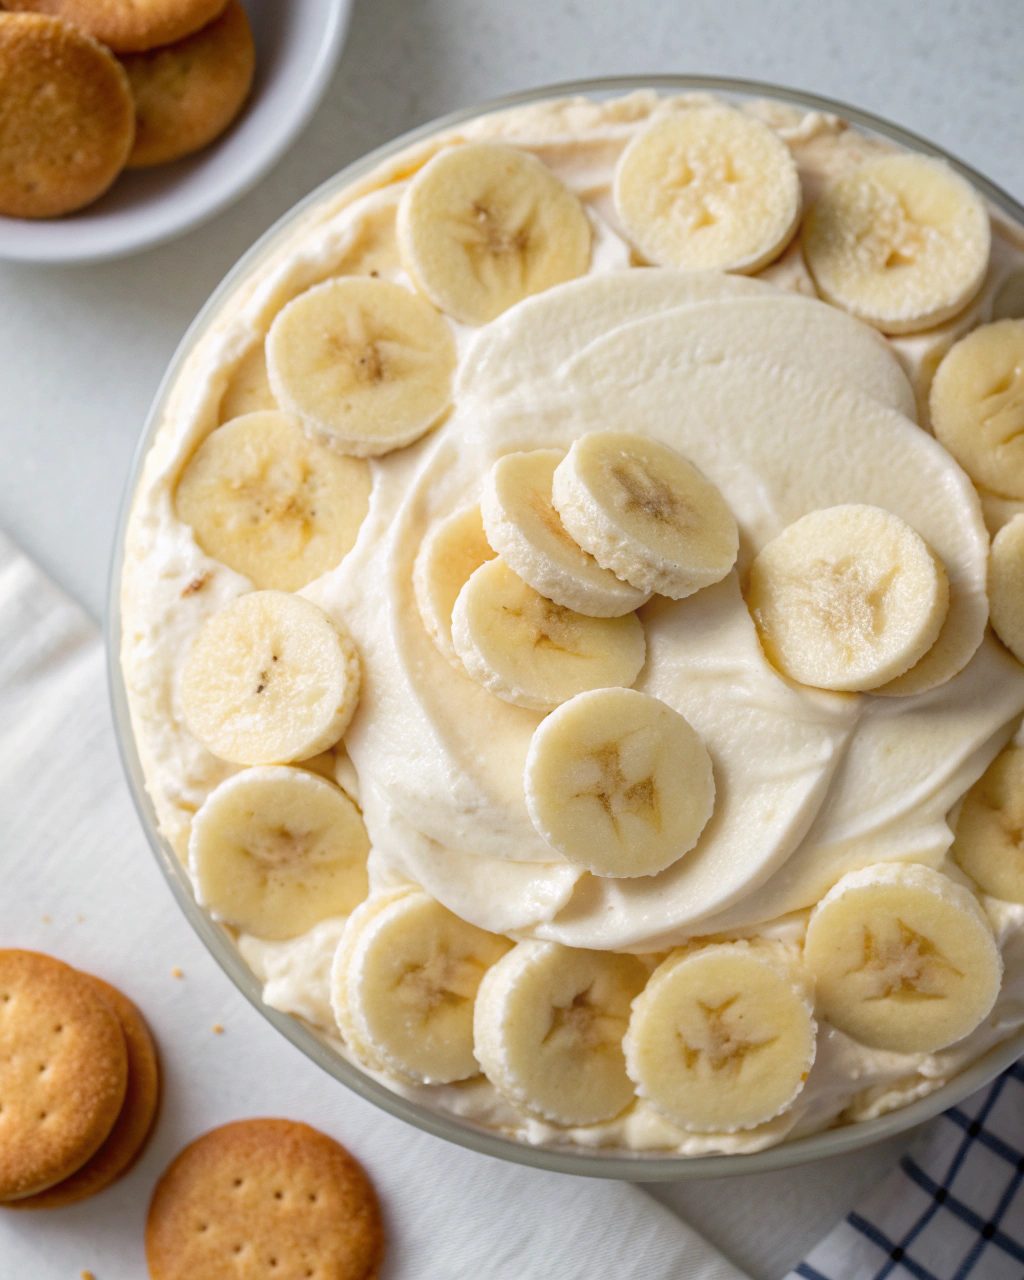
- Top it off: Finish with crushed wafers or a decorative wafer border. Optional: light dusting of cinnamon for warmth.
- Chill: Cover and refrigerate for at least 3–4 hours, preferably overnight, so the wafers soften into a dreamy cakelike bite.
- Serve: Add fresh banana slices right before serving if you want that glossy, just-cut look. Scoop generously. No one likes a stingy square.
Keeping It Fresh
Bananas brown because oxygen is relentless.
To slow it down, toss banana slices in a little lemon juice or pineapple juice before layering—just enough to lightly coat. Store the pudding tightly covered and refrigerated for up to 3 days.
For best texture, assemble the day before serving and add any fresh banana garnish right before showtime. FYI: the wafers continue softening, so day two is peak spoon action.
Wholesome Benefits
Let’s be real: this is dessert.
But it’s not a lost cause. Bananas deliver potassium, vitamin B6, and fiber.
Using real whipped cream lets you control sugar and additives. You can swap in lower-fat milk or reduced-fat cream cheese to lighten it up.
The key? Balance joy and nutrition like a responsible adult who still knows how to party.
Nutrition Stats
Approximate per serving (1/12 of recipe): 340 calories, 17g fat (10g saturated), 44g carbs, 1.5g fiber, 30g sugar, 5–6g protein, 160–220mg sodium.
These values can shift based on milk type, cream vs. topping, and how aggressively you “taste test.”
Tips to Prevent Errors
- Use instant pudding, not cook-and-serve. The box should say “instant.” Wrong box equals soup.
- Cold ingredients are non-negotiable. Warm milk or cream won’t thicken properly.
- Don’t overwhip the cream. Stop at medium-stiff peaks to keep the filling airy, not grainy.
- Slice bananas last. Minimize air exposure to reduce browning.
- Give it time. Chill long enough for wafers to soften—rushing leads to dry crunch instead of tender layers.
- Pan choice matters. A glass 9×13 is classic for even layering and easy serving.
- Taste for sweetness. If using very ripe bananas, you may not need the entire can of condensed milk. Adjust to taste.
Different Takes
- Lightened Up: Use 2% milk, reduced-fat cream cheese, and whip 1.5 cups heavy cream instead of 2.
- Chocolate Twist: Swap half the vanilla pudding with chocolate pudding.
Add shaved chocolate on top.
- Peanut Butter Dream: Whisk 1/3 cup creamy peanut butter into the cream cheese mixture. Sprinkle chopped salted peanuts between layers.
- Boozy Grown-Up: Add 1–2 tablespoons dark rum or banana liqueur to the pudding base.
Keep it responsible, folks.
- Gluten-Free: Use certified GF vanilla wafers. Everything else is naturally GF if labeled.
- Dairy-Free: Use dairy-free pudding mix with almond or oat milk, dairy-free cream cheese, and whipped coconut cream.
- Caramel Banoffee Vibes: Drizzle dulce de leche between layers and on top.
A mic-drop moment.
FAQ
Can I make this a day ahead?
Yes—please do. Overnight chilling gives the wafers time to soften and the flavors to marry.
It’s noticeably better on day two.
My pudding didn’t set. What happened?
Likely culprits: used cook-and-serve pudding, milk wasn’t cold, or too much liquid was added.
Stick to instant pudding and measure carefully.
How do I stop bananas from turning brown?
Lightly coat slices with lemon or pineapple juice and assemble shortly after slicing. Add any decorative banana slices right before serving.
Can I use whipped topping instead of heavy cream?
Yes.
Fold in 8–12 oz of thawed whipped topping. Texture will be slightly sweeter and more stabilized, which is great for travel.
What if I don’t have cream cheese?
You can skip it, but texture will be lighter and less tangy.
Alternatively, use mascarpone or Greek yogurt (well-drained) for a similar vibe.
How long does it last in the fridge?
Up to 3 days. After that, bananas get mushy and the wafers go from dreamy-soft to “why is this pudding drinking itself?”
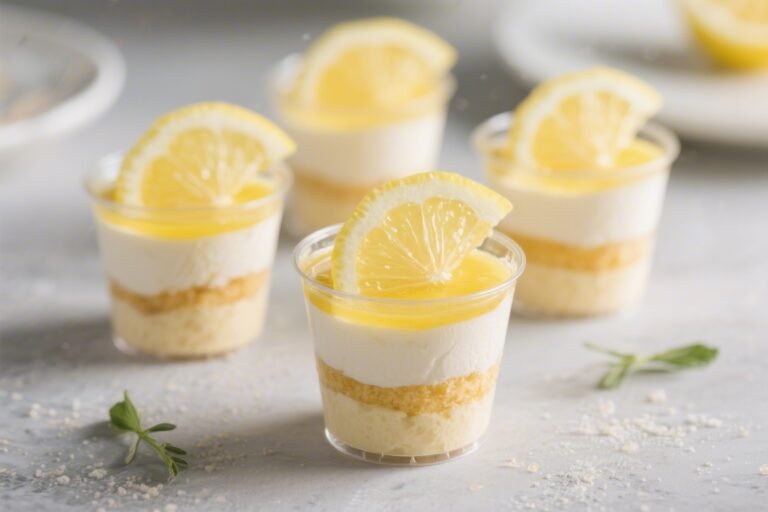
Can I assemble in individual cups?
Absolutely.
Layer in jars or cups for portion control and presentation. Great for parties or packable lunches, IMO.
What size dish works best?
A 9×13-inch dish is perfect, but you can use a deep trifle bowl for a showstopping centerpiece.
Adjust layers accordingly.
A Few Last Words
No-bake banana pudding with vanilla wafers is proof that simple wins. It’s nostalgic without being basic, elegant without trying too hard, and it delivers every single time.
Make it once, and it’ll turn into your “bring this, please” assignment for life. Not a bad legacy, right?